Sony Vaio HDD/SSD Drive Removing notes
We selected two Sony laptops out of a variety of Vaio designs to have a close look and compare drive removing directions.
Sony Vaio S1511
The hard drive can be removed easy and in no time if your laptop has similar drive bay design with Vaio S1511. Flip the computer over and locate two screws (Phillips #1) that hold removable section on the base. Remove the screws and pull towards the edge of the laptop. You can now access the battery (disconnect first) and the hard drive or SSD attached to the frame with four screws. Remove these screws and unplug the hard drive. There are two metal mounting braces attached to each side of the drive that must be removed and kept for new drive installation.

Sony Vaio VGN-TX2XP
To get the Toshiba 1.8" hard drive you have to disassemble the case, and that includes removing seven screws from the underside, the keyboard, the keyboard ribbon cable and that cable connects the front panel buttons to the motherboard, the case screw above the touchpad. Finally, you need to unclip and separate the upper part of the case. To hard drive is attached to computer with three screws and metal bracket.

Spare drives for Sony Vaio
Most Sony laptops have Toshiba or Seagate hard drives. Drives can be replaced with any other HDD or SSD brand, preferably with similar or faster data transfer rate and same or bigger capacity. Still you have to be careful and pay attention on the difference between drive connectors.
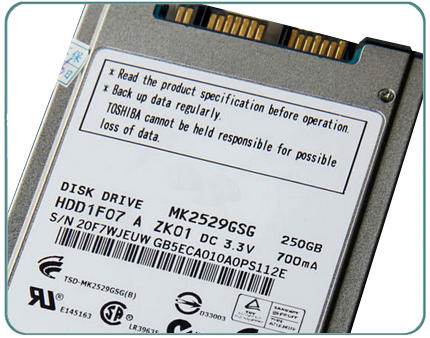
This 1.8" Toshiba Micro-SATA HDD was removed from Sony Vaio (MK2529GSG 250 GB HDD on the picture)
