Acer Laptop Hard Drive Removal Instructions
Most Acer's users usually remove the failed hard drive from the laptop and send it along to data restoration lab, unless the system recovery is required and the new drive-clone must be tested in-lab to make sure the operating system is bootable.
If you are lucky then you will be able to locate your drive under the little cover at the bottom of computer. It’s applicable to the models like Acer Aspire 9300/7000 Series, Acer Travel Mate 8210/8200 Series or Acer Ferrari 3400.
But not all Acer laptops designed with an easy drive-replacement feature. In fact, to remove the drive from most of the modern ACER laptops you have to literally take the whole computer apart to get an access to the drive. The example below gives a demonstration of drive removal manipulations that must be applied to a particular Acer laptop model.
Anyway, that example may give you a fast outlook for drive removal directions for the most typical ACER laptops. A proper type of screwdriver and some sharp tip of a plastic (preferable) tool and few hints are all what you need now for fast and easy drive removing job.
Do not forget, that after you remove the drive you should look at it closely and retain any attached SATA, MicroSATA or mSATA adapters or connectors, brackets and mounting screws or other things that are not exactly parts of the drive itself. We don’t need them for data recovery process and you must keep them for the new drive installation.

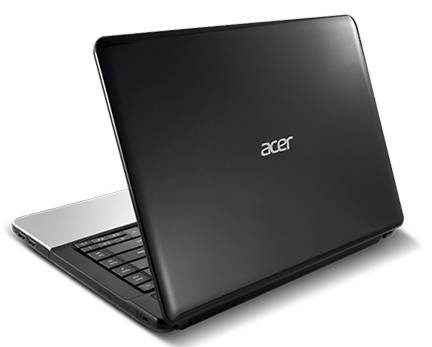
Acer Aspire V5-571
Turn off the laptop and remove the battery.
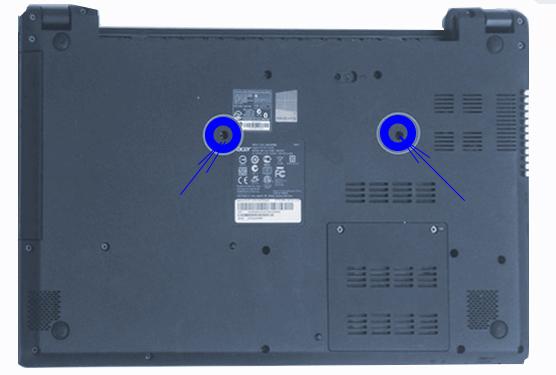
Remove the keyboard: Remove two screws securing the keyboard.

The Keyboard is held by two locking clips, under the battery. Use the sharp tip of a plastic tool to release the keyboard.
Remove the keyboard, and disconnect the four flexible cables: 1) Keyboard cable 2) Keyboard Light cable, 3) Power-On button cable and 4) Touch-pad cable. NOTE: To disconnect Power-On button cable and Touch-pad cable you need also remove 4 screws.
Turn over laptop to remove 18 screws from the bottom cover and remove any memory SD Card from the Card reader (from the bottom of computer).
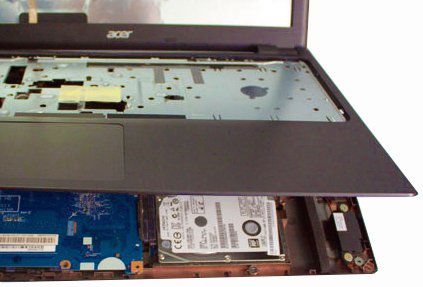
Now you can start opening the upper cover with a plastic opening tool. After splitting the cover from the bottom part, right under the upper cover you will find the hard drive as shown on the picture below. Lift the drive up about 30 or 45 degrees and pull it out.
